How to build an impressive demo project
I'm JS developer with 13 years of professional experience. I'm always happy to teach my craft.
When applying for a job, it’s good to have a demo project to present as an example of your work. In this article, I’ll show you what to focus on while building such a project. I share conclusions from being on both sides: applying for a job and reviewing projects of applicants.
Demo project goals
A demo project is a good opportunity to show off the wide range of your skills. You can do this the best by expanding your project in depth—having a simple set of features for the application but implemented with high-quality code. With a simple feature set, you can focus on showing all the aspects of programming that you would like to work with. With a demo project, you have an empty canvas you can fill in as you please. The only constraints are your creativity, skills, and how much time you want to put into it. You can use it to show the breadth of your knowledge.
While working on a demo project, you don’t have to follow guidelines imposed on you by other developers. You can use this opportunity to show exactly what you mean by good, quality code. Quality is something that good workplaces pay a lot of attention to. Even in places where they say we have no time for quality code, it’s very likely that the technical interviewer will prefer people who can deliver maintainable code.
By delivering a demo project, you prove that you can ship something. Any project that is completed is perfect proof that you both have the skills necessary to create it, and that you are not a perfectionist who can’t finish stuff. Both things will be valued in a workplace.
Side goals
It can be tempting to add some side goals to the project to make the time investment more worthwhile. Depending on your situation, this could indeed be a good idea, but keep in mind that by adding additional priorities, you either water down the original purpose of the project, or you increase the scope of your undertaking. If you are thinking of applying for a job soon, try starting simple with technologies you know and add the new ones later on—if you have time.
Project scope
Building a project from scratch is always a lot of work. Typically, projects go over the initial budget estimation: just look at any construction project in your area. If you follow my advice of demonstrating many of your skills, you will already have a lot of work to do. To avoid starting a project that is bigger than you can finish, the best idea is to keep the feature scope as little as necessary. You can always expand the feature scope in the following iterations—exactly the way you do in agile. If you want some inspiration for simple demo projects, here you have a few examples of what I discussed on this blog:
- a simple application to store a sequence of data points on energy consumption
- a hello world app
Frontend
As a frontend developer, I’m always focusing the most on that part. Even if your priorities are elsewhere, the frontend will be the part of the application the reviewer interacts with, so it makes sense to invest some effort in it.
Depending on your priorities, you can include different qualities to it:
- If your dream job involves UI/UX design, you can put in the effort to make it pretty. Otherwise, a standard UI framework or even no styled elements will be OK.
- If you aim for a frontend job with some framework, you can use this framework in your project. Otherwise, vanilla JS could be an interesting showcase for how you solve some common problems on your own.
Backend
For many applications, you will need some form of backend. Depending on your career goals, you can try some “serverless” backend from the cloud, or build a server for your application yourself. If you aim for full-stack or backend positions, this will be a great exercise. It will complicate a lot of your local and deployment environments, but it will bring your demo application to be much closer to real-world cases.
With backend and frontend work, you will be confronted with many aspects of development that are not present in a project that involves only the frontend. For example:
- mono-repo vs. poly-repo, a topic I discussed in another article
- true end-to-end tests where you check both parts of the app
Covering those aspects in the demo app will be a great way of showing your capacities to the interviewees.
Database
Adding a database to your project would be yet another level of complexity. If you aim for a backend or full-stack job, it would be a great opportunity for you to show your work across all the parts of the stack. When your focus is the frontend, it will probably make more sense to skip the database and just keep data in the server’s memory.
Technology stack
You will need many technologies to get your project up and running. Make sure to choose things that make sense together: use a combination of technologies that are often used together and avoid adding libraries that overlap with the features they provide.
If possible, try using tools you are familiar with. Learning new things will make you slower in creating the application, and it’s more probable that you will make some mistakes while using it.
What to include
When I review projects for other people, I focus on whether and how they approach certain aspects, which I discuss below. This list is my personal list, and others will put different weights on those things, but I’ve noticed many senior developers are paying attention to the considerations I mention here. At the same time, some of those things are things ignored by junior developers.
README
When I visit a project for the first time, I expect a README file that will quickly bring me up to speed with the project. A great example is at date-fns:
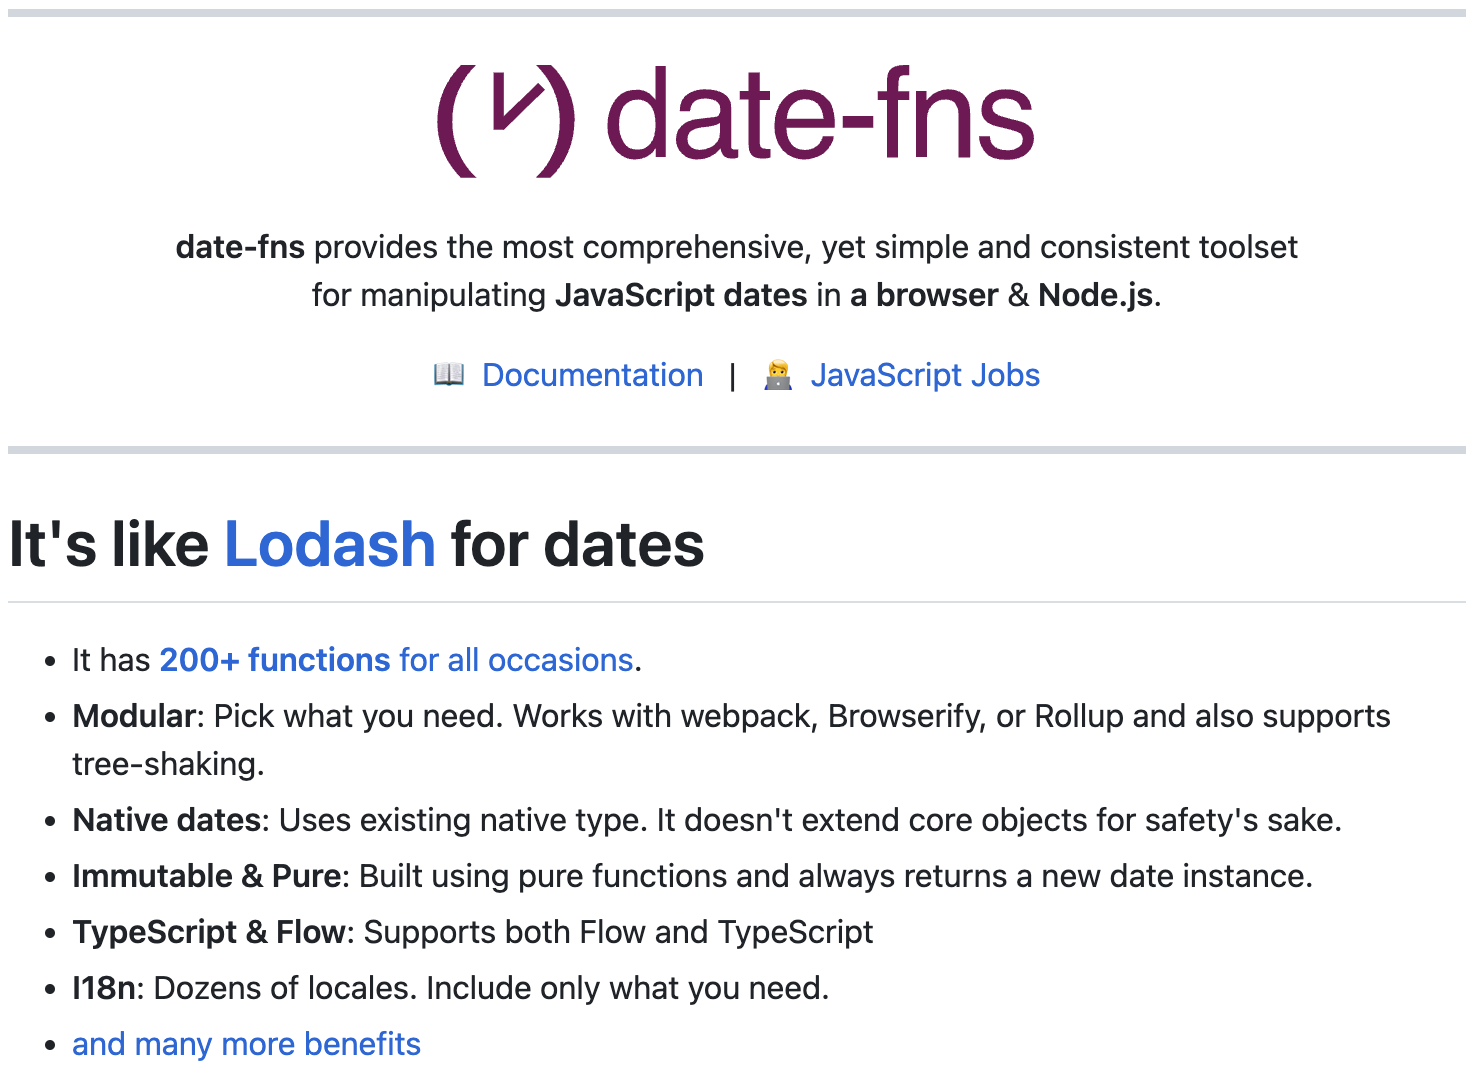
You can find more about how to write a good README in an article on my blog.
Deployed application
When you try to show what you can build, it makes sense to make it easy for people to see the application in action and play with it. This gives them a context that is helpful to understand the code and will demonstrate the scope of the project. Besides, deploying is a critical part of the project life-cycle, and it makes sense to show you can take care of that too.
If you build only the frontend, the deployment will be effortless: you can use GitHub or GitLab pages, or Netlify. Adding a custom backend or database will require more effort—the easiest would be to find an affordable cloud provider and deploy to the cheapest instances there. I liked the simplicity of the offer from Digital Ocean, but the details of the offering of those companies change every few months.
CI/CD
Continuous integration (CI) is a piece of your project’s infrastructure that checks whether everything is working as expected after each commit. Continuous delivery (CD) deploys the last version somewhere that it can be tested: in the case of a demo project, it could be to the main environment because you don’t need to create a production and staging split.
For implementing continuous integration and delivery, you can use an offering of your Git hosting provider: for example, GitHub Actions or GitLab CI/CI. Another option is a dedicated CI service, for example, CircleCI. All those solutions have similar capabilities, and for simple pipelines, it shouldn’t matter much which one you are using.
Setting up CI can be more time-consuming than expected. As you tweak the configuration, you often need to wait for many minutes to see the impact of your changes. Running the code on external machines makes troubleshooting more complicated.
Linter
Linter is a program that analyzes your code, looking for errors or potentially problematic patterns. Each programming language has some tools like this available. In my frontend work, I use:
Those tools help to catch little, annoying bugs and teach you what structures in code you should avoid. They often have extensive configuration options, and can be expanded by plugins. I see no reason not to use them in any project, let alone a project where you have to show off your skills and dedication to the craft.
Code style
As a developer, you spend more time reading code than writing it. Making the reading experience pleasant is important, and many senior developers insist on keeping the code as consistent as possible. Luckily, we have tools that take care of applying the code style across the project. For the frontend, Prettier is a tool that covers all JS/TS, HTML, and CSS. You can read more about it here.
Unit tests
The goal of unit tests is to check whether the part of the application—methods, classes, etc. are doing the thing they are supposed to do. There are many tools in JavaScript that you could use for writing unit tests, for example:
- Jasmine
- Jest
- Mocha
You have probably heard about the importance of unit tests many times before. On my blog, I have 2 related articles: how to write unit tests for a practical guide, and what are the benefits of unit tests.
End-to-end test
End-to-end (e2e) tests check that the application works as expected all the way from the frontend through the backend and to the database. Those tests can be complicated to set up because there are plenty of moving parts—frontend, backend, database—and they all should work fine both locally and in the CI setup. Even though it could be difficult to get it right, those tests allow automating a lot of repetitive quality assurance (QA) work. Including them in your demo project can be a great way of showing you care about the quality and efficiency of the development team.
There are many e2e frameworks available: for example, Cypress, Playwright, and Nightwatch. Unless you have a specific reason to prefer some of them, for the demo project, I would use Cypress—it’s the most popular option. Even if the team uses other tools than Cypress, they will definitely recognize it.
If you are new to automated QA, you might wonder what’s the point of having unit and e2e tests in one project. Many teams create both types of tests, and I went through reasons why it makes sense in another article.
Codebase documentation
I already mentioned the README file that covers the main purpose of the project, and how to start playing with it. Besides this top-level documentation, it’s very helpful to explain briefly the purpose of the classes and methods you write. The best place to do it is in the code—so you can read and update the description as you work on the files. At the same time, it’s good to have the documentation available in other places too: as suggestions in your code editor or on a website other developers could access without downloading the code.
JSDoc is a popular syntax for adding in-code documentation to JS projects. It integrates with many different tools—good code editors will manage to parse it and use it for code suggesting, or it could be built static.
Meaningful commits
One of the things I pay attention to in projects is the quality of the commit history. A good project history has the changes organized in commits that make sense as a whole and are described in a meaningful way. Well-maintained code history makes it much easier to understand the changes when one reviews code and simpler to look for a reason why something was changed. Small commits, with related changes, are easier to revert if necessary. I wrote more about how to use Git repositories efficiently in a previous blog.
Want to learn more?
If you are interested in learning more about building projects or other development related things, you can sign up for an occasional email from me here.